Friday, December 31, 2010

New Years Eve Thank You Blog Hop


Welcome to Funky Cards and the New Year’s Thank You Card Blog Hop! 
If you've come from Robyn's blog, you're in the right place. If you happened here by chance, you 
can go back to the beginning at The Crafty Card Gallery.  This blog hop is intended to give you ideas for making   Thank You Cards.  We can all use these right about now:)

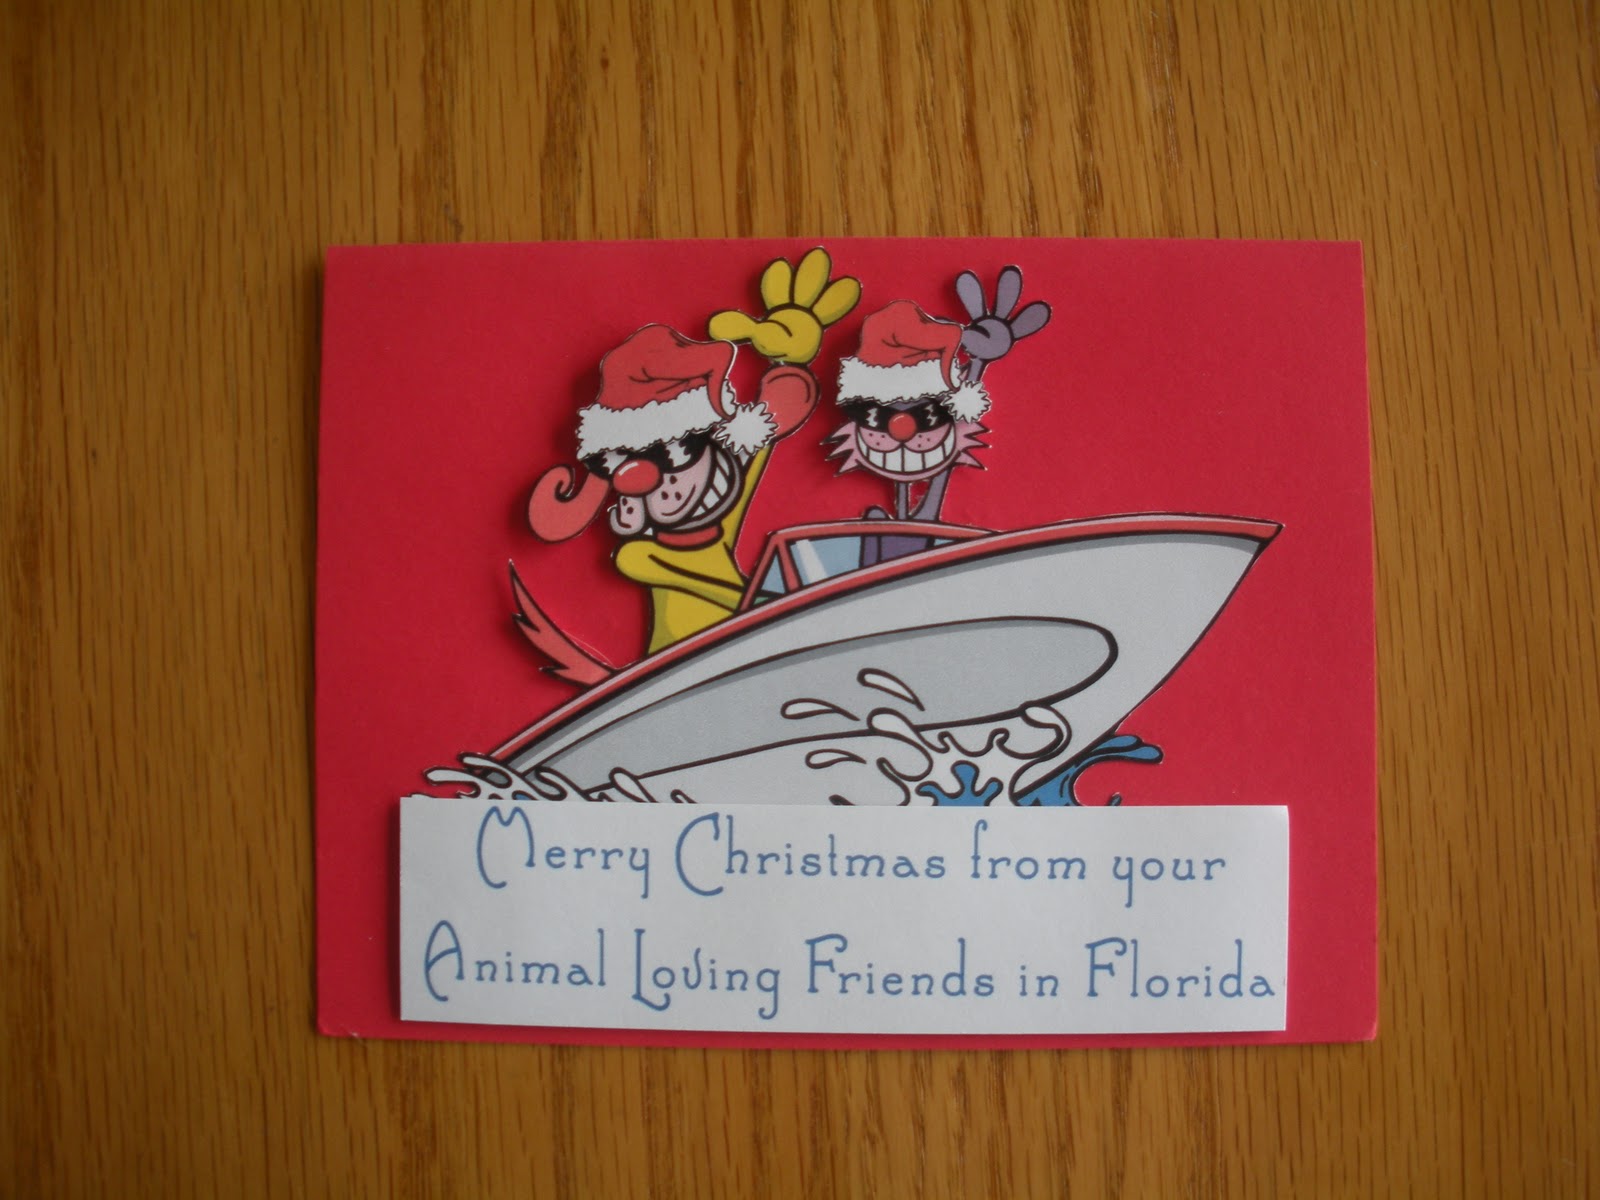
I just love the Create a Critter Cricut cartridge.  This cow comes from that cartridge:)  So cute.  I recently received her in a swap and decided to design my card around her.  If you recognize this as your cut out, let me know:)  I would love to give you credit for her:)  


I added a computer generated sentiment, "Thanks- You are moo-velous."  Simple, but cute.  The background is embossed with the Swiss Dots Cuttlebug embossing folder.

You have seen so many great ideas but there are still a couple of more left.  Now head over to Jessica's blog, The Creative Stamper's Spot.  Jessica is known for her creative projects so you won't want to miss her card:)

Next week I will be a guest designer for another blog and will be posting several new cards here on my blog that I have been working on.  If you can, stop back by to check them out.  If you aren't following, please consider becoming a follower:)

Thanks for stopping by!
~Madison

Thursday, December 30, 2010

"Udderly" fantastic

Looking for something to paint with that canvas you got for Christmas?

My family knows that I love to paint so I received several canvases for Christmas.  I wasn't sure what I wanted to paint.  I sat in my craft room for a minute and looked around to find inspiration.  I thought it would be fun to paint one of my favorite cards!  It is always fun to make my cards but when I sell them it is sometimes hard to let my favorites go.  So, now I have a painting of this card to keep in my craft room.  What do you think?


This was really easy to do.  I used the Cricut to cut and trace the images onto the canvas.  


I really love how this turned out.  I may just have to paint another one:)

Have a safe and Happy New Year everyone.

Thanks for stopping by!
~Madison

Tuesday, December 28, 2010

Thanks Emma:)

Look what I got in the mail:)


My very own Clip It Up from Peachy Keen Stamps.  I won this from Emma at My Creative Time in a recent blog hop.  I was so excited to win a prize from Emma.  I think Emma is super talented and always provides her followers with amazing new projects!!!  If you haven't checked out her blog, which I am sure you have, make sure you do:)

Thanks for stopping by!
Madison

Thursday, December 23, 2010

Christmas Tags:)


Welcome to the 25 Days of Cricut.  Today I want to show you a simple project that would be fun to do with your kids.  Now that all the kids are home for Christmas vacation, it can be fun to work together getting things ready for Christmas.  I liked helping my mom wrap presents, but I wasn't good at it when I was little:)  I wish my mom had a Cricut when I was younger!  It would have been fun to make Christmas tags with her.

This Christmas tag is one of many that you could make.  I like the idea of making a big shape like a tree, adding two more shapes, like the presents, and then adding lots of sparkles like gems!


The Christmas tree was cut from the Cricut Christmas cartridge.  The two presents are squares cut from the Cricut Plantin SchoolBook cartridge.  After they were cut, the tree was embossed with the Cuttlebug Divine Swirls Folder and the presents were embossed with the Swiss Dots Folder.  I know, with supervision, kids love to use the Cuttlebug:)  The best part is adding gems!  I typically put Zig 2 way glue right on the paper and add the gem right on the glue dot.  It holds just fine.  (I don't have an i-rock).  Don't forget to add your to and from!

Kids like it when they are included in the gift giving process.  So if they can help make the tags they will feel a sense of accomplishment:)  Just choose cut outs that are kids friendly:)

Thanks for stopping by!
~Madison


Wednesday, December 22, 2010

Cooking With Cricut- The Real Meaning of Christmas:)

Welcome to Cooking with Cricut Challenge #10
The Real Meaning of Christmas

I have been painting a lot lately and decided to paint a picture for my new craft room that tells the story, according to my beliefs, of the real meaning of Christmas:)  This is really easy to do if you use your Cricut and the Paper Dolls Dress up Cricut cartridge.  First, choose the figures that you want to use from the nativity scene on pages 76-77.  Cut out the figures and trace them onto your canvas.  Next choose your paint colors and paint the figures.  It is really that easy:)


I added the following Bible verse- Matthew 1:18-25  
"This is how the birth of Jesus Christ came about: His mother Mary was pledged to be married to Joseph, but before they came together, she was found to be with child through the Holy Spirit.  Because Joseph her husband was a righteous man and did not want to expose her to public disgrace, he had in mind to divorce her quietly.

But after he had considered this, an angel of the Lord appeared to him in a dream and said, 'Joseph son of David, do not be afraid to take Mary  home as your wife, because what is conceived in her is from the Holy Spirit.  She will give birth to a son, and you are to give him the name Jesus, because he will save his people from their sins.'

All this took place to fulfill what the Lord had said through the prophet:  The virgin will be with child and will give birth to a son, and they will call him Immanuel - which means, 'God with us.'

When Joseph woke up, he did what the angel of the Lord commanded him and took Mary home as his wife.  But he had no union with her until she gave birth to a son.  And he gave him the name Jesus."

I am excited to see your projects too:)  Please join us for this week's challenge.  You have until next Tuesday at midnight to be eligible for the prizes.  Head over to the Cooking With Cricut blog to see what the other design team members have created.

Thanks for stopping by!
~Madison


Wednesday, December 15, 2010

Cooking With Cricut- Stocking Stuffers:)

Welcome to Cooking With Cricut Challenge #9!
Stocking Stuffers:)


Can you believe it is already December 15th and we are almost ready  to celebrate Christmas?  Today, we are bringing you ideas to stuff those Christmas stockings.  I always liked it (and still do mom, hint, hint) when my mom made me hot chocolate and cinnamon rolls on Christmas morning.  Well here is a way to add a hot chocolate package to your children's stockings or perhaps you can make these as gifts.  They would look cute in a fun mug and I am sure your friends would enjoy them:)


This is really easy to make.  It can be any length you want.  It just needs to be bigger than your chocolate package.  Take a white piece of card stock and fold it from the bottom towards the top leaving about an inch and one half from the top.  Fold the top over at one inch and crease with your bone folder.  Place the hot chocolate package inside and punch two holes through all the layers making sure to shake the chocolate mix down towards the bottom first.  Tie a ribbon through the holes.  Decorate the front with whatever you would like.


The elf and donkey were cut from the Cricut Paper Doll Dress Up cartridge.


This is how it looks on the inside.  I punched the chocolate package upside down because it shook towards the bottom best this way and wouldn't make a mess when I punched the holes.


Please stop by the other Cooking with Cricut Design Team members' blogs today to see what creative stocking stuffers they have created for you:)  And don't forget to enter our challenge for a chance to win this week's prizes.  You have until next Tuesday at midnight.


Thanks for stopping by!
~Madison

Tuesday, December 14, 2010

Winner of the Blog Hop Announced:)

Is it You???

Announcing the winner of the "It's a Small World" blog hop.  First, thank you to all of those who stopped by and left such wonderful comments on my blog and all of the blogs on this hop.  And thanks again to Jess of KinderStampO for organizing this hop.  

Now, the winner of my blog candy is....

Monica at(happyscrappn2.blogspot.com)... Monica said

"Super cute.. man I want a hat! Don't you love it when you can make something and your friends love it.. and then making memories with family cooking and more.
My favorite is just being with my son.. and looking for the first snow. He has to then get out in it! You are a wonderful addition to this hop."

Congratulations to Monica.  Monica, please contact me with your email address as soon as you can:)

~Madison

Friday, December 10, 2010

"It's A Small World" Blog Hop

Welcome to our "It's a Small World" blog hop hosted by Jess of KinderStampO.  If you happened here by chance, you may want to head back to the beginning to Jess' blog.  If you arrived here from Linda's blog, you are in the right place.  I hope you are enjoying learning about Christmas traditions from other countries.

Today I am going to share with you a tradition that my mom has told me about many times. My mom and both of her parents are Italian.  They grew up in a small town that had a large, Italian/Catholic community.  On Christmas Eve it was common for the Italian/Catholic's to attend midnight mass.  After mass they would come home and have treats.  On Christmas Day they would visit family and friends and deliver goodies.


For this blog hop, my mom and I worked together, which is always fun at Christmas:)  I decided to make some cute hats and headbands for my friends and I to wear to church while my mom made some awesome homemade Italian Biscotti:)  These are so good!


This is just one of the many hats I have been working on for my friends and I.  I used a large loom made for adults and two colors of yarn to get this stripped effect.  They sell looms at Micheal's and all the directions to make the hats come in the package.  The package also includes the necessary hook and needle.  The only thing you need to purchase separately is the yarn.  It takes approximately two hours to make a hat and even less time to make a headband:)  It really is easy!

And when you get home from church, what better way to warm up than with a cup of hot chocolate and these home baked Italian Biscotti. Send me an email if you want the recipe:)   


Of course the best part of baking is giving the treats away (after you try a few), 
so there are plenty of extras wrapped up and ready to give to family 
and friends on Christmas Day just like my mom's family used to do.


You can see in this photo each package includes three Biscotti and is tied with a green, white and red ribbon, the colors of the Italian flag  I added a homemade tag to go with the Biscotti.  The tag was cut from the Christmas Solutions Cricut Cartridge and says, "Happy Holidays from the Womack's."


***Blog Candy Alert***  


Today I am offering a selection of paper, two ink pads, and a birthday stamp.  To be eligible, become a follower of my blog and  leave me a comment.  In the comment, I would like to know what your favorite part of the holiday season is.  Happy Holidays to you:)  I will be posting the winner on Monday Nov 13th.  Please check back to see if you are the winner.


Please make sure to continue with this wonderful blog hop and visit all the blogs this weekend.  We have a wonderful group of sponsors.  They include: Unity Stamp Co, Peachy Keen Stamps, Lindy Stamp Gang, Preserve Your Memories II, Imaginisce, Helmar.  Just leave a comment on each blog for a chance to win a Holiday Scrap Box with these products!


Now hop on over to my friend Pam's blog to see where in the world her design takes you. Here is a complete list of bloggers in case you get lost along the way:

Jess KinderStampO 
Christine - Chris's Creations 
Shelley Heartstring Designs 
Vickie Two Chickens On A Limb 
Sigrid Love Scrap Reflect 
Meighen -Scrappin3rdeeschik 
Mariam Mariam's Blog 
Linda- Krazy Quilling 
MadisonFunky Cards (Me) 
Pam Scrapbook Flair 
Christine HatchellScrapbooking Technique 
Jessica- The Creative Stamper  
DDscraftsCrafty Deb 
GabyGaby Creates 
LisaBit by the Cricut Bug 
Nicole Canadian Nickel Scrap'n 
MarthaDream of Crafting 
LizLiz' Paper Loft 
Jessica BakerThatz Uneek 
Cheryl - Nana's Creative Corner
JessKinderStampO

Thanks for stopping by!
~Madison

Cecil's Card


Randa's card


Alma's Card


Alma's Card


Lina's Card


Lina's Card


Rev. Louis & Carolyn


Jaxon's Card


Alma's Card


Shirley's Card


Alma's Card


Joanie's Card


Alma's Card


Alma's Card


>
 

Funky Cards Copyright © 2010 Designed by Ipietoon Blogger Template Sponsored by Emocutez